Hijab Articles
How to Make Hijab Caps at Home
Hijab caps make life so much easier, don’t you think?
Who would’ve thought a tiny piece of cloth would make so much difference? It makes your hijab feel more comfortable, prevents it from moving around, and keeps your hair where it should be.
If your hijab cap isn’t comfortable, the hijab will keep loosening around your face and bothering you.
You can easily solve this by making your cap at home. Believe it or not; it won’t take more than 10 minutes!
Here’s how to make hijab caps at home without getting any special tools.
How to Make Hijab Caps at Home
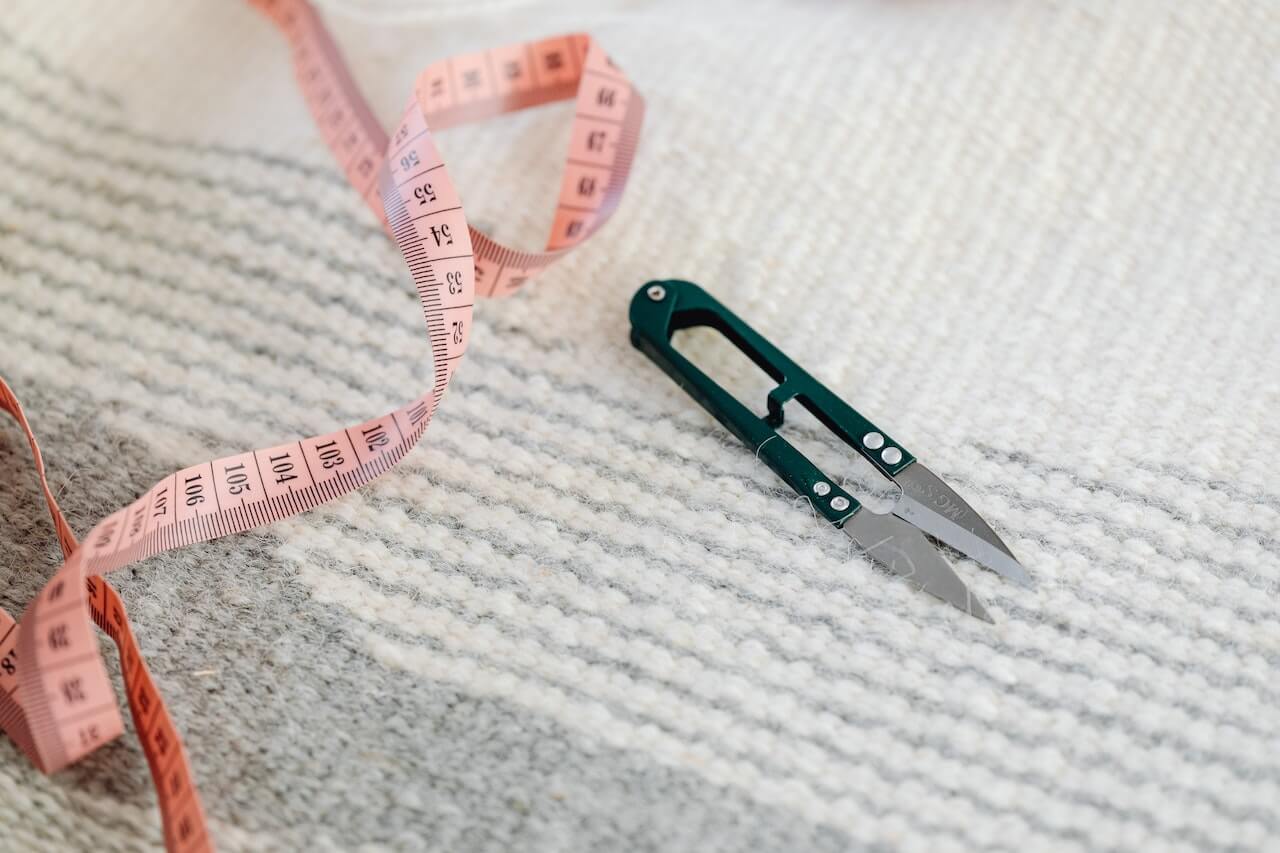
You don’t need much to make your own hijab caps at home. Any old piece of clothing and a pair of scissors will do, plus some simple tools. Here are the tools you need:
- Any piece of clothing made of stretchy fabric
- A pair of scissors
- Measuring tape
- Pins
- Fabric glue
- Chalk (for marking)
Preferably choose a piece of clothing or an old scarf made of jersey. Otherwise, any stretchy fabric will do. You can also replace the fabric glue with sewing thread, but you’d have to use a sewing machine for that.
Related: The Full Jersey Hijab Washing Guide
The glue may be less durable and more likely to give out, but you can always replace it. Plus, it won’t take as much time as the machine.
Here are the steps you need:
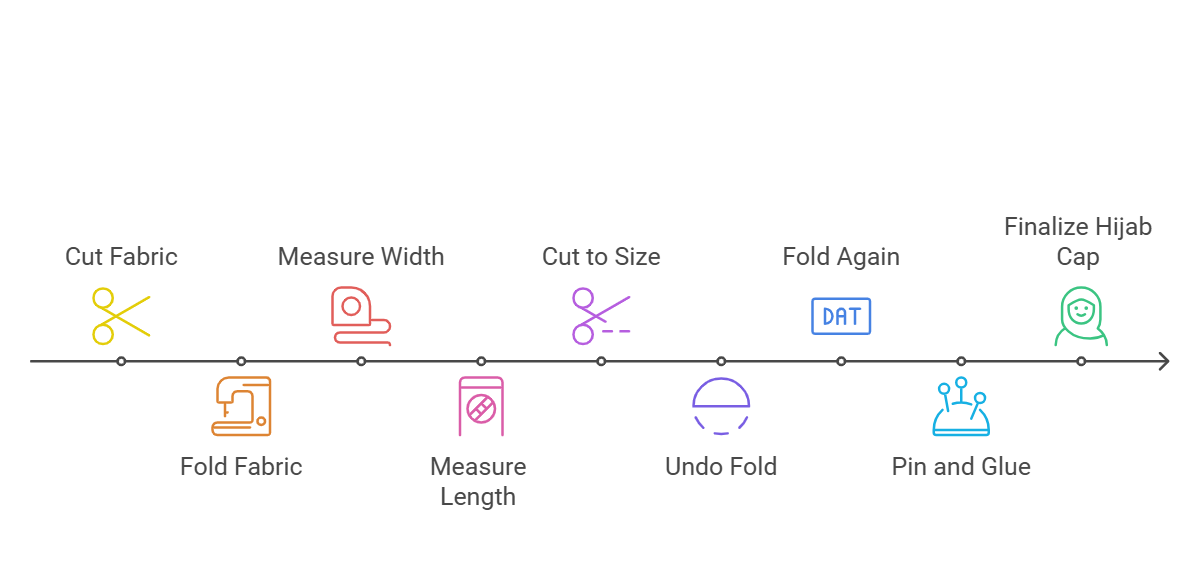
- Cut your piece of clothing into a square shape, preferably around 30×20 inches
- Fold the squared piece of clothing into half, making sure to align the edges well
- Grab your measuring tape and chalk, and make a mark at 15.5 inches for the width
- Measure the length next, marking it at 9.5 inches
- Now, cut the fabric at these two marks using your scissors, so you have a 15.5×9.5 inches piece of cloth
- Undo the folding, so that the fabric is spread out in front of you
- Remember the 9.5-inch length? Fold it at the 4-inch mark, so it looks like it’s only 5.5 inches long
- Pin it in place using your pins, then apply the fabric glue to keep it in place
- You can substitute this step for sewing if you know how to do it, but make sure to choose a thread of the same color
- Do the same step for the seam, and if you want, you can trim the edges after you’re done to have a uniform edge
- Fold the piece of fabric in half again, making sure that the folded part is facing upwards
- Sew at the seam or apply fabric glue
- Now, your hijab cap is done. Flip it on the other side so that the folded parts are hidden inside, and you have your tube hijab cap ready!
Different Hijab Cap Types for Different Styles
Well, now you know how to make tubular hijab caps, which are the most common type and can work for most hijab styles.
However, there are other types that fit different styles of hijab. Here’s a roundup of them in case you want to upgrade your cap wardrobe!
Tie-Back Bonnet
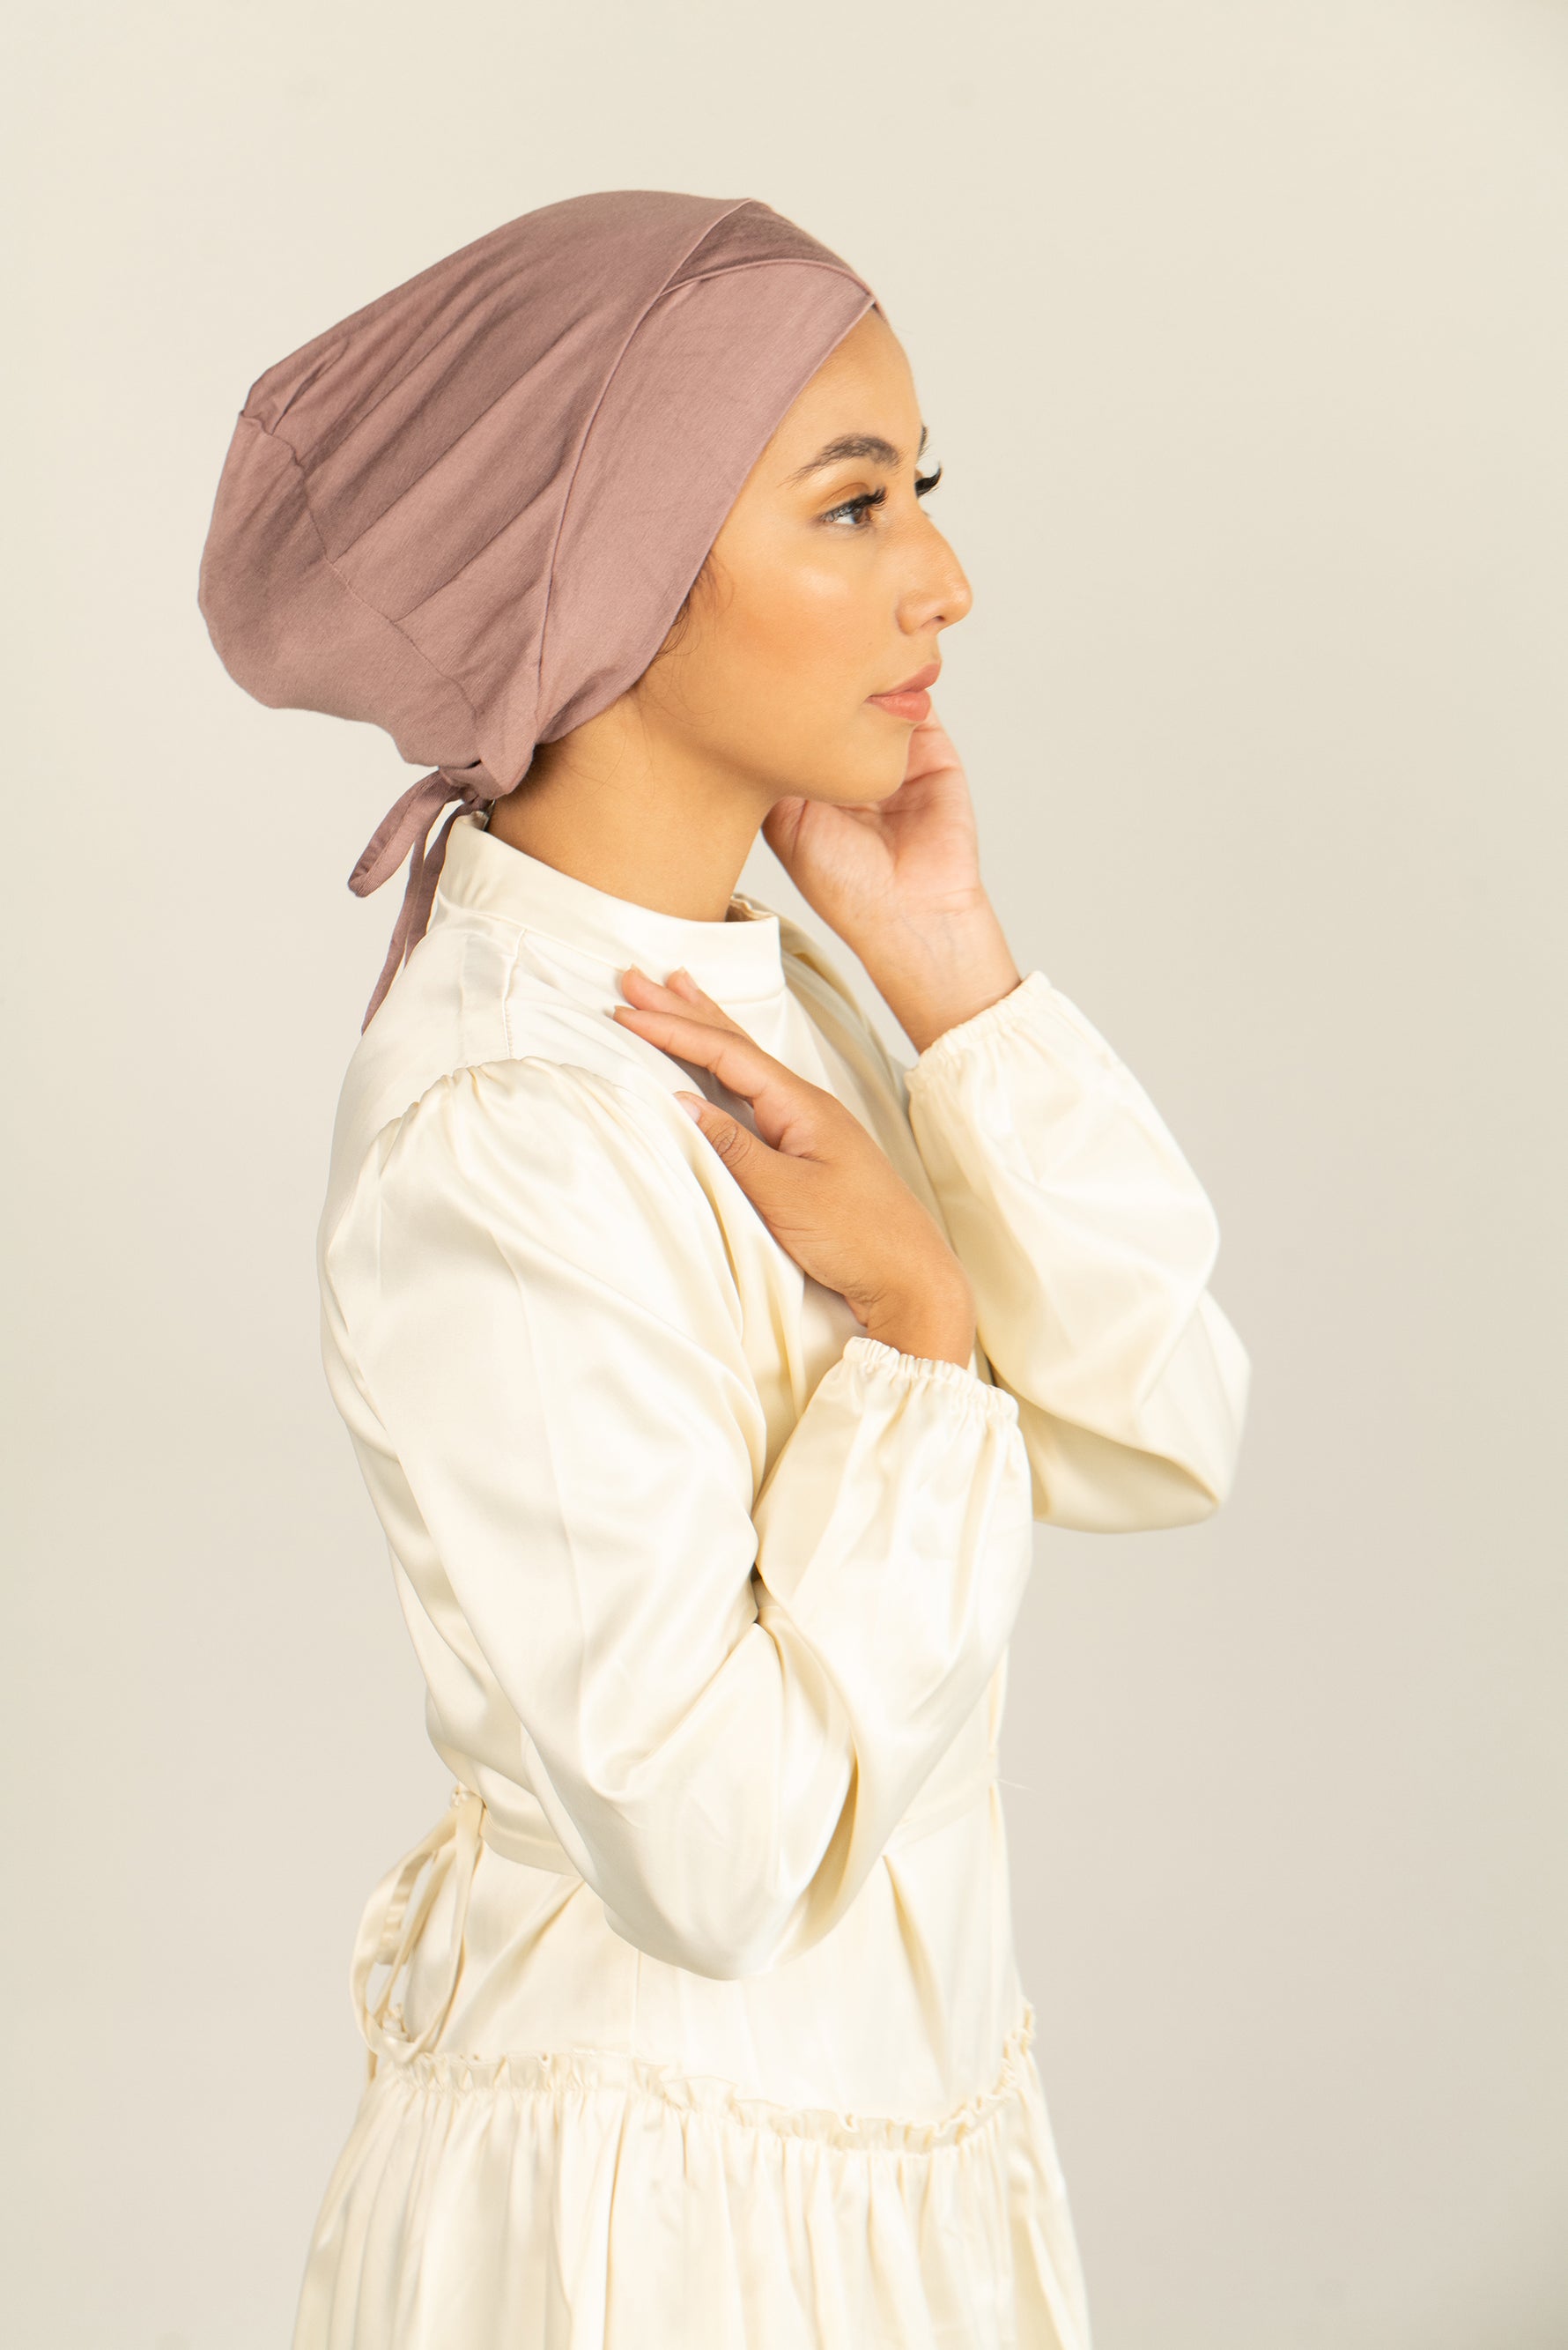
A tie-back bonnet looks just like a tube cap, except that it’s closed off at the ends using two ties attached to the fabric. It’s also often tightened using these ties, like a hoodie’s hood.
Tie-back bonnets are often made of jersey or lycra, depending on their intended use. To wear them, you put them on your head, cover all your hair, and tie the ends at the back.
These caps aren’t ideal for sea-through scarves because they’ll show your hair at the back. However, they’re excellent for layering because they’re breathable, so they won’t cause you to sweat underneath during the summer.
Headband

Headbands are the modern versions of tie-back bonnets. Instead of tied ends, the ends are sewn together. So, they’re basically tube caps without the back part. They only cover the front of your hair.
These caps don’t offer the best coverage, so they only work with opaque veils.
Some headbands have elastic backs, so you can tighten them and loosen them around your head as much as you’d like. And the best part is that they’re pretty easy to wear. You only have to pull them over your head, and voila!
Ninja Scarf
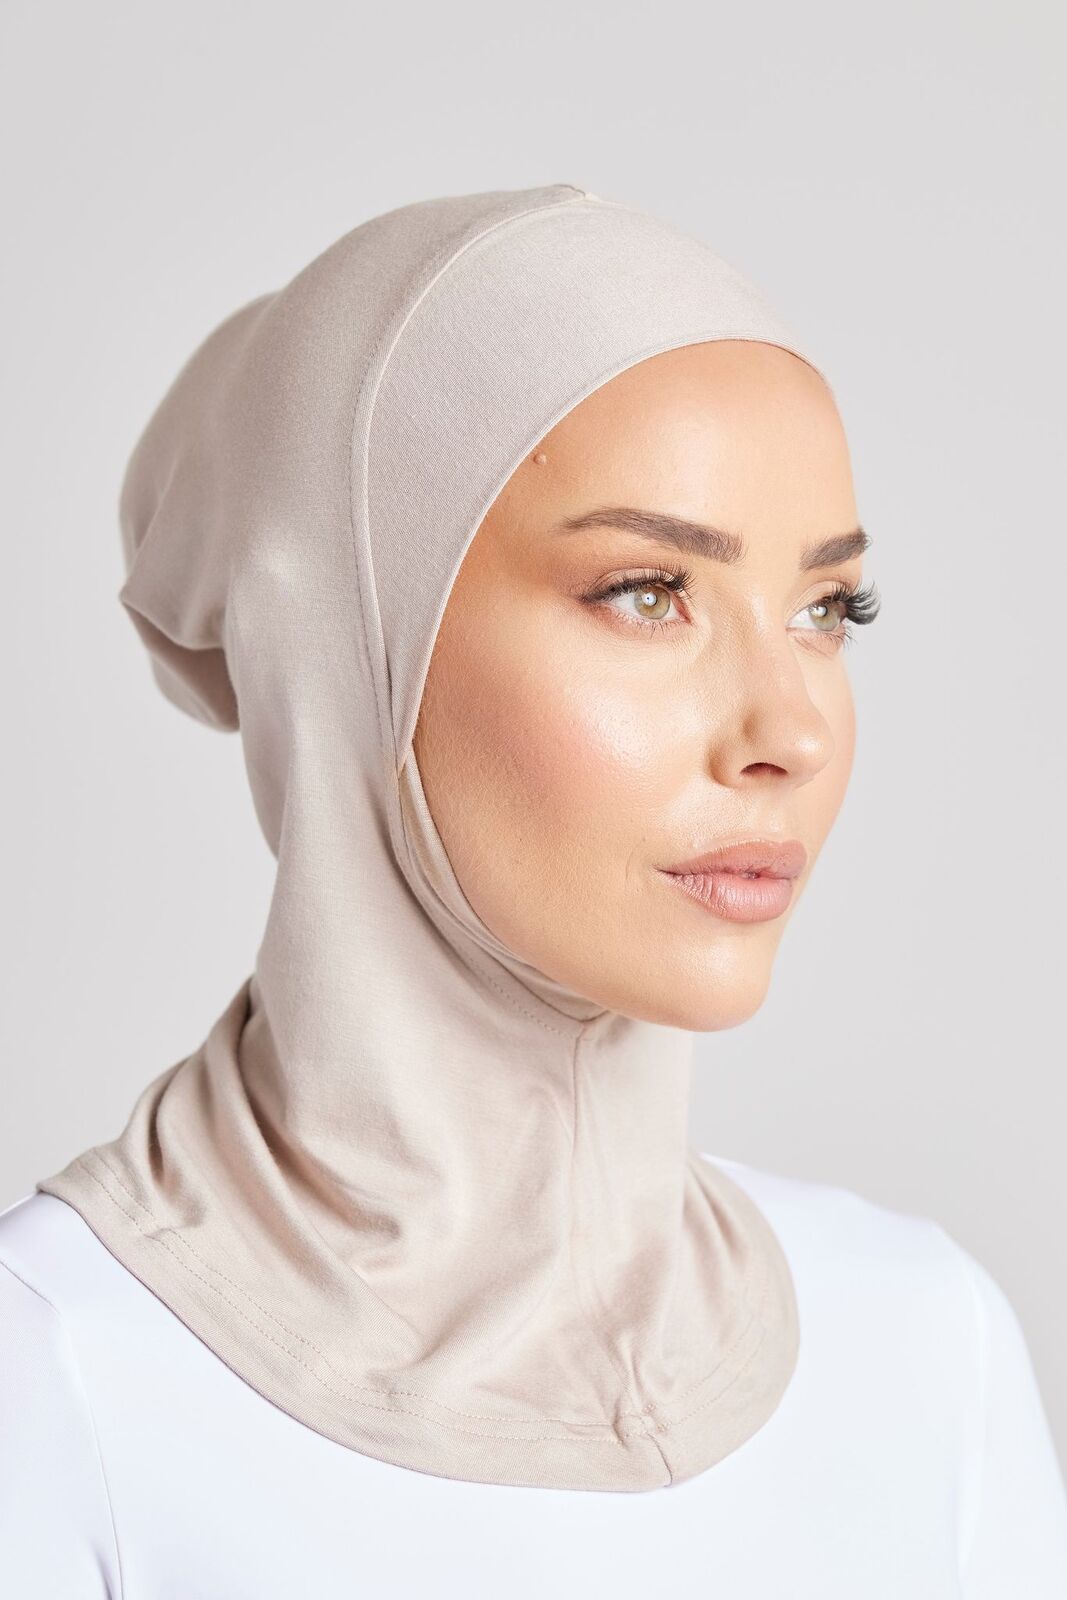
Nope; don’t worry, ninja scarves aren’t called that because they make you look like a ninja! They just look like ninja head covers—or so we think!
Anyway, ninja scarves are pretty convenient because they offer full coverage, covering your hair, neck, and upper chest.
You can even wear them alone in some cases if they’re embroidered.
These under-scarves are suitable for nearly all hijab styles, but they may not be ideal for layering because they don’t offer much breathability.
Lace Bonnet
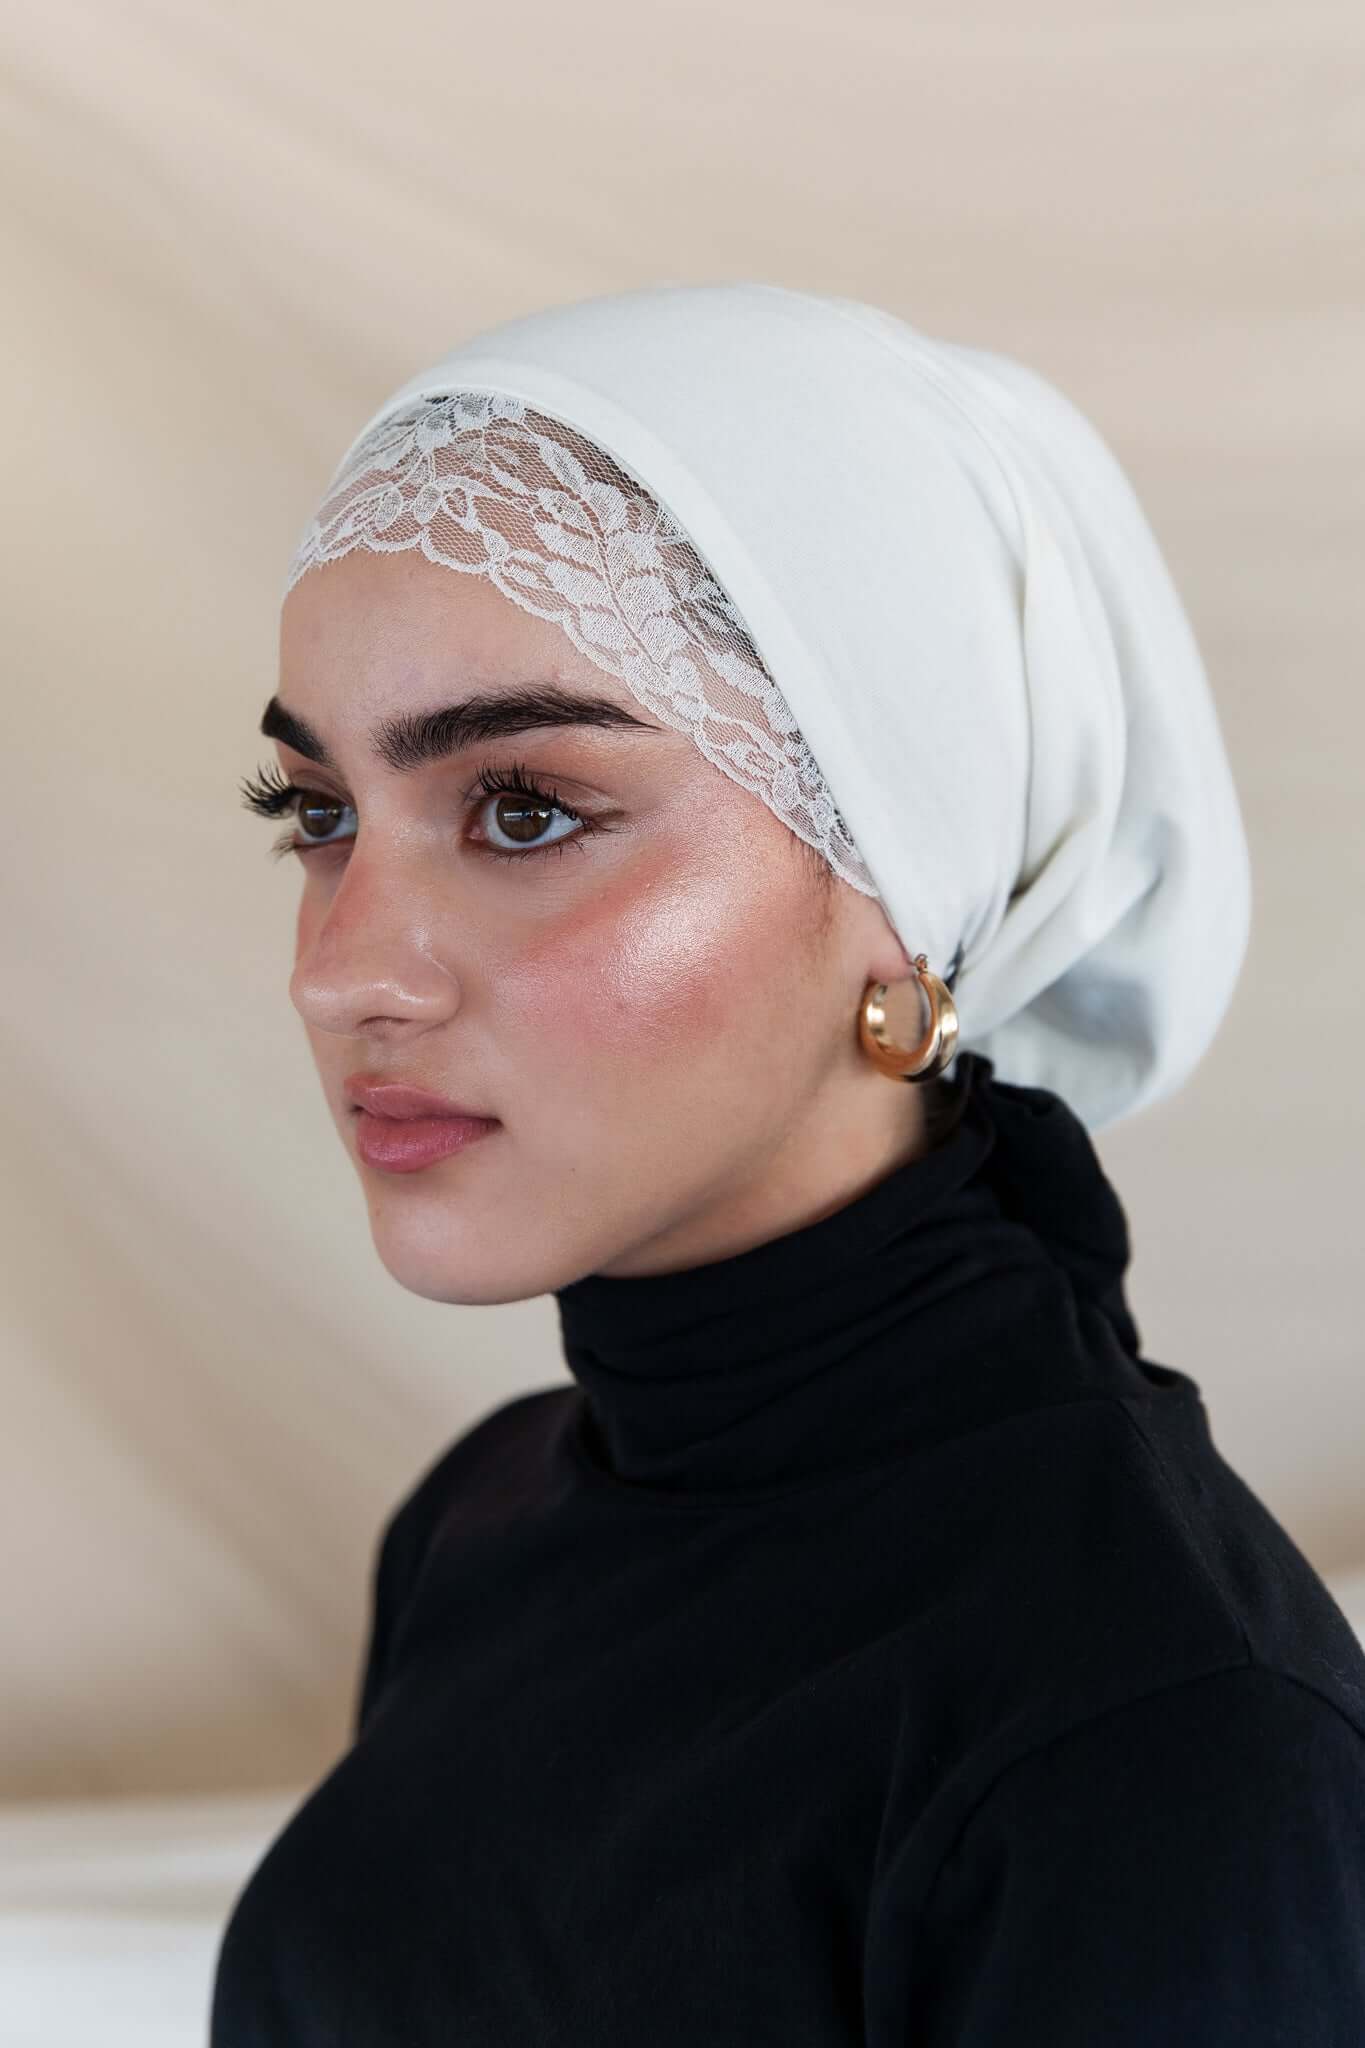
A lace bonnet looks the same as a tube hijab cap, but it’s made entirely of lace to offer breathability. It’s often a suitable choice for the summer because it keeps your head cool.
That also means it doesn’t offer ample coverage, but you can always get that with the hijab you’ll put on top.
Lace bonnets are often made of polyester because it’s stretchy and soft. Plus, it doesn’t shrink when you wash it.
These caps sometimes have the same cut as headbands, covering only the front of your hair.
All in all, the lace edge will look pretty fashionable with a solid-colored hijab of the same color.
Before Leaving, Check Out These EMMA Bestsellers:
Why are you in a hurry?
First, take a look at some of EMMA’s global bestsellers in case your wardrobe needs an upgrade:
Persian Queen
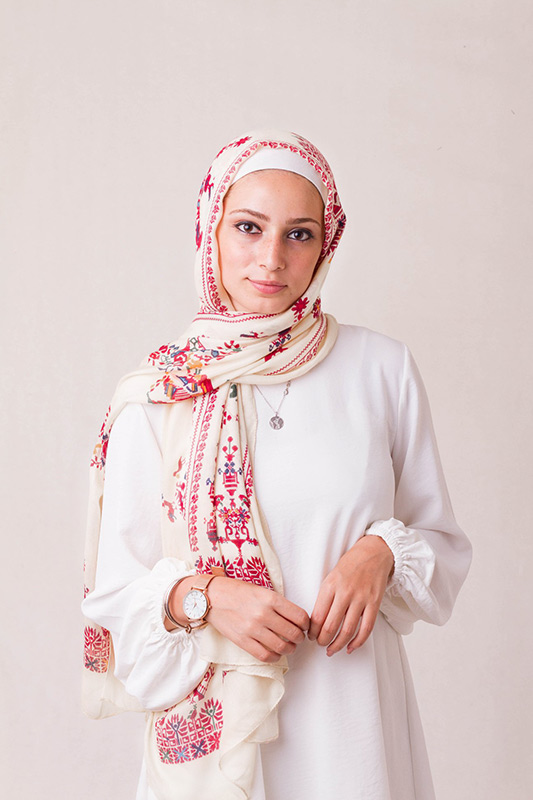
An all-time bestseller, Persian Queen is one of EMMA’s best creations, featured in the printed modal hijabs collection. Its traditional Persian patterns shine on the lowkey background, and the modal fabric offers unmatched comfort.
Enchanted Roses
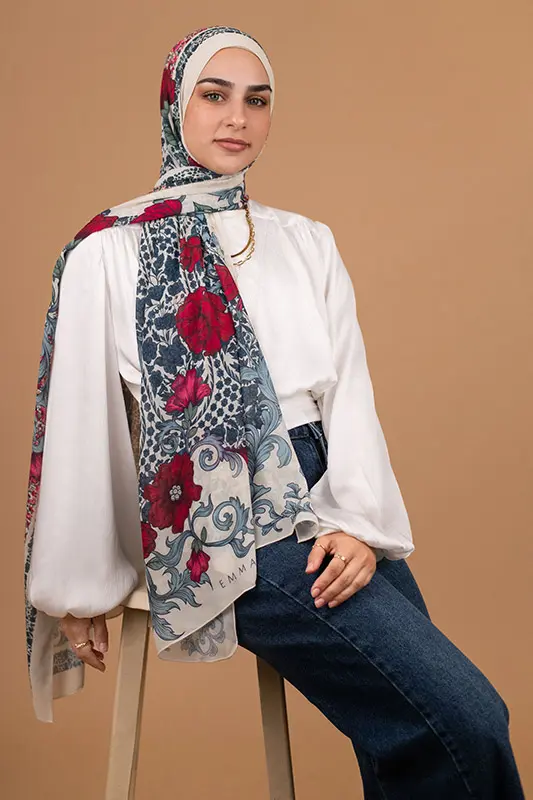
A statement piece, Enchanted Roses is the ideal hijab to wear with all shades of jeans. Whether you’re going for a classic or a casual look, this is the hijab for it.
Turath
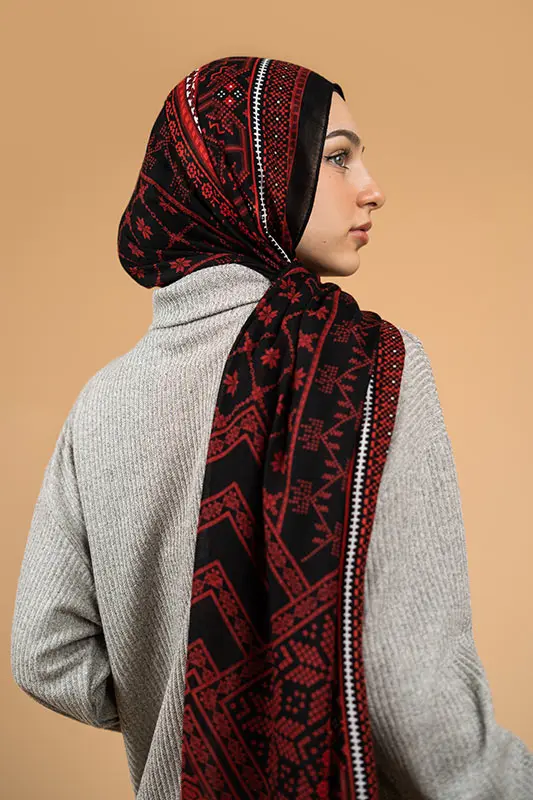
Turath is a timeless piece that’ll likely still be in style 10 years from now. Its folkloric patterns, paired with the abstract color palette, make it a statement piece that’ll grab attention anywhere you go,
Final Thoughts
The next time someone asks you how to make hijab caps at home, you’ll have your answer all ready!
The process is pretty easy; you can make a hijab under-scarf in under 10 minutes if your hands are fast and if you have everything ready.
If you don’t have an available piece of fabric, you can always opt for an old T-shirt instead. As long as you can cut a square shape out of the fabric, you’re good to go!

Read More
A Better Version Of Myself
6th year in my hijab. Hijab builds me, it protects me. Flash back, 6 years ago… I was afraid of [...]
6 Comments
Oct
Nesma Khedr’s Hijab Story
❤ الحمد لله الذى بنعمته تتم الصالحات …. قلعته بعد ١٦ سنه حجاب و لبسته تانى بعد ٨ شهور [...]
35 Comments
Sep
Greater Than All
As these very special 10 days of Dhul Hijja unfold, I’m intrigued to explore more of their hidden gifts sent [...]
11 Comments
Aug